

As they say, a little reflection can go a long way when it comes to transforming a simple dresser into a chic statement piece. The process of adding mirrored surfaces to furniture can elevate its aesthetic appeal and add a touch of glamour to any room. From selecting the right materials to mastering the application technique, there are several key steps to consider. So, if you’re ready to discover how to turn an ordinary dresser into a stunning mirrored masterpiece, let’s begin with the essential materials and prepping steps.
Materials Needed
To create the DIY mirrored dresser, you will need a variety of materials such as sandpaper, mirror tiles, adhesive, and a paintbrush. When it comes to mirror selection, opt for tiles that suit the dimensions of your dresser drawers. You may need to cut the mirror tiles to fit accurately. A glass cutter can assist in this process; ensure you wear protective gloves and goggles for safety.
For the dresser itself, start by refinishing the surface. Sand the dresser thoroughly to remove any existing finish and create a smooth base for painting. Choose a paint color that complements the mirror tiles you’ve selected. When painting, apply thin, even coats to prevent drips or streaks. Allow each coat to dry completely before applying the next one. This step is crucial for achieving a polished and professional look for your DIY mirrored dresser.
Prepping the Dresser
If we inspect the dresser closely after selecting our mirror tiles and the necessary supplies, the first step in prepping it involves a thorough sanding to eliminate any existing finish and ensure a smooth surface for painting. Sanding is crucial to create a clean canvas for the new look we aim to achieve. After sanding, the next steps involve priming the dresser to enhance paint adhesion and choosing the right hardware to complement the mirrored design. Here’s a breakdown of the prepping process:
- Sanding: Use fine-grit sandpaper to remove the old finish and create a suitable base for painting.
- Priming: Apply a quality primer to help the paint adhere better and create a durable finish.
- Choosing Hardware: Select hardware that complements the mirrored tiles and enhances the overall aesthetic of the dresser.
Once these steps are completed, the dresser will be ready for the transformative painting process to turn it into a chic mirrored masterpiece.
Measuring and Cutting Mirrors
When measuring and cutting mirrors for the DIY mirrored dresser project, precision is key to achieving a seamless and professional-looking finish. To ensure accuracy, use a tape measure to determine the dimensions needed for each mirror panel. Double-check measurements before marking the mirrors for cutting to avoid errors. When marking the mirrors, use a wax pencil or a removable marking tool to indicate where the cuts will be made.
For cutting techniques, a glass cutter is recommended for scoring the mirror’s surface. Score along the marked line with consistent pressure to create a clean break. After scoring, carefully snap the mirror along the scored line by holding the mirror on each side of the score and applying gentle pressure in the opposite direction.
When it comes to mirror placement, consider the dresser’s design and layout. Ensure that the mirrors fit snugly within the designated areas and align properly for a symmetrical look. Take your time with this step to guarantee that the mirrors are positioned correctly before attaching them to the dresser.
Attaching Mirrors to the Dresser
I carefully position each mirror panel within the designated area on the dresser to ensure a precise and symmetrical alignment. When attaching mirrors to the dresser, the process requires attention to detail and the use of suitable adhesive options to secure the mirrors effectively. Here is a guide to help you achieve a professional finish:
-
Mirror Placement: Place each mirror panel evenly spaced on the dresser surface, ensuring that they align perfectly both vertically and horizontally. This step is crucial to create a cohesive and visually appealing look.
-
Adhesive Options: Consider using mirror adhesive specifically designed for heavy items like mirrors. This adhesive provides a strong bond and prevents the mirrors from shifting or falling off over time.
-
Secure Attachment: Apply the adhesive evenly on the back of each mirror panel before gently pressing it onto the dresser. Ensure firm pressure is applied to establish a secure attachment, allowing the adhesive to set according to the manufacturer’s instructions.
Adding Decorative Touches
To enhance the dresser’s aesthetic appeal, consider incorporating tasteful embellishments that complement the mirrored surfaces. When it comes to mirror placement, strategic positioning can create an illusion of space and light in the room. Placing mirrors on the dresser’s sides or drawers can reflect natural light from windows, making the room feel brighter and more spacious. Additionally, consider adding decorative embellishments such as elegant handles or knobs that harmonize with the mirrored finish. These small details can elevate the overall look of the dresser and tie the design together seamlessly.
Designing and accessorizing the dresser with items like decorative trays, vases, or candles can further enhance its visual appeal. Opt for items that complement the mirrored surfaces without overwhelming them. Delicate pieces with metallic accents or crystal details can add a touch of sophistication and glamour to the dresser. Remember, the key is to strike a balance between the mirrored elements and the decorative touches to achieve a cohesive and chic look.
Finishing and Polishing
Upon completing the assembly of the mirrored dresser, the next step involves meticulously finishing and polishing the surfaces to achieve a flawless reflective shine. This crucial stage not only enhances the overall appearance but also ensures that the mirrored dresser exudes elegance and sophistication.
Finishing and Polishing Tips:
-
Mirror Placement: Carefully position each mirror panel, ensuring they are aligned correctly to create a seamless mirrored surface that reflects light effectively and adds depth to the dresser.
-
Polishing Techniques: To achieve a pristine finish, use a lint-free microfiber cloth along with a quality glass cleaner to remove any smudges or marks on the mirrored surfaces. Circular motions are recommended for an even polish without streaks.
-
Final Touches: After polishing, inspect the dresser from various angles to check for any imperfections. Address any remaining spots or streaks promptly to achieve a flawless, mirror-like finish that will elevate the aesthetic of your DIY mirrored dresser.
Styling Tips
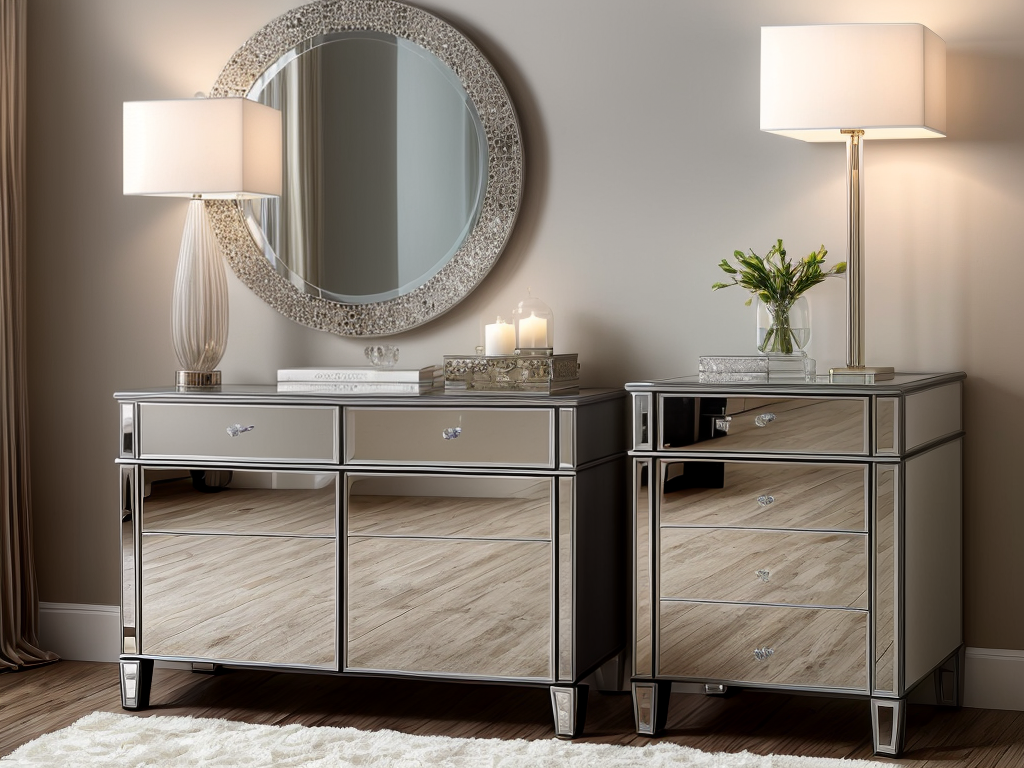
After achieving a flawless reflective shine through finishing and polishing, the next step in enhancing the appeal of your DIY mirrored dresser is by incorporating stylish and creative styling tips. When it comes to mirror placement, consider positioning your dresser in a way that maximizes natural light reflection for a brighter and more spacious feel in the room. Adding soft ambient lighting or a statement lamp nearby can further accentuate the mirrored surface, creating a cozy and inviting atmosphere.
To complement the mirrored finish, selecting dresser accessories with metallic accents or glass elements can enhance the overall elegance. Be mindful of the color scheme you choose to ensure a cohesive look – neutral tones can provide a sophisticated touch, while bold colors can add a pop of personality. Mixing textures like velvet or faux fur can also create a luxurious feel against the mirrored backdrop.
Consider the following table for additional styling tips:
| Mirror Placement | Lighting |
|---|---|
| Position for maximum reflection | Add ambient lighting |
| Experiment with angles | Incorporate statement lamps |
| Dresser Accessories | Color Scheme |
|---|---|
| Metallic accents | Neutral tones for sophistication |
| Glass elements | Bold colors for personality |
Maintenance and Care
Ensuring the longevity and pristine appearance of your DIY mirrored dresser requires a consistent and thorough maintenance regimen. To keep your mirrored dresser looking its best, here are some essential cleaning tips and ways to prevent scratches:
- Cleaning Tips:
- Regularly dust the surface with a soft microfiber cloth to prevent the buildup of dirt and grime.
- Use a gentle glass cleaner or a solution of water and vinegar to clean the mirrored surfaces without leaving streaks.
- Avoid harsh chemicals or abrasive cleaners that can damage the mirror’s finish and the dresser’s frame.
- Preventing Scratches:
- Place felt pads or coasters under items placed on the dresser to prevent scratches from rough or sharp objects.
- When cleaning, avoid using rough materials like scrub brushes that can scratch the mirror’s surface.
- Lift, rather than drag, items across the dresser to avoid leaving marks or scratches.