

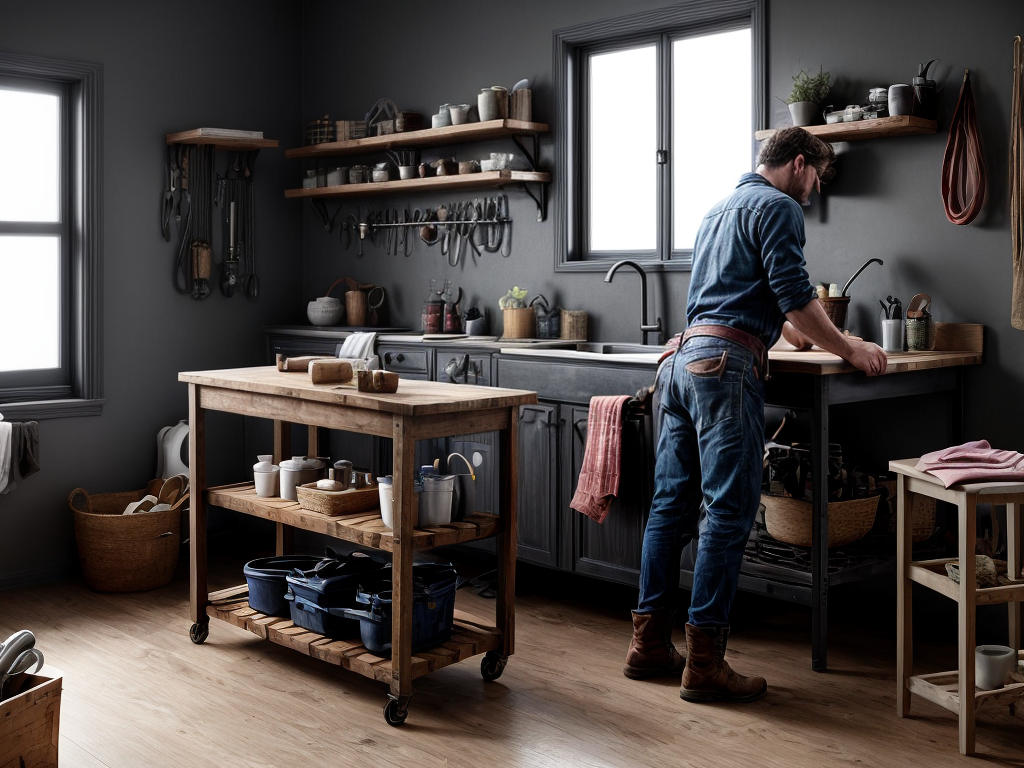
So, you’ve decided to venture into the realm of DIY plumbing; congratulations on taking the plunge into the world of leaky faucets and stubborn clogs. From essential tools to safety precautions, mastering a few basic plumbing skills can save you both time and money. Understanding how your home’s water system works is crucial, but the real challenge lies in tackling common faucet issues, unclogging drains, dealing with a running toilet, and detecting and fixing leaks. However, it’s the subtle art of insulating pipes for winter that truly separates the amateurs from the pros.
Essential Tools for DIY Plumbing
When tackling DIY plumbing projects, having the essential tools is crucial for efficiency and precision. Proper pipe maintenance and leak prevention are key aspects to consider. To start, a pipe wrench is a must-have for loosening and tightening pipes securely. Additionally, an adjustable wrench can be handy for various fittings. A tubing cutter is essential for cleanly cutting pipes to the desired length, ensuring a proper fit. Teflon tape is vital for sealing pipe threads to prevent leaks effectively.
A pipe snake or auger is invaluable for clearing clogs in drains and pipes. Plungers are also necessary for clearing minor clogs in sinks and toilets. A pipe sealant can be beneficial for sealing pipe joints to prevent leaks. A hacksaw is crucial for cutting through metal pipes when necessary. Finally, a flashlight is indispensable for illuminating dark areas under sinks or in basements when working on plumbing tasks. Having these essential tools in your DIY plumbing arsenal will equip you to tackle various pipe maintenance and leak prevention tasks with confidence and precision.
Understanding Your Home’s Water System
To understand the water system in your home thoroughly, it is essential to grasp the layout of pipes, fixtures, and connections that supply and distribute water throughout the house. When it comes to your home’s water system, there are key elements you should be aware of:
- Water Pressure: Understanding the optimal water pressure for your home ensures proper functionality of your plumbing fixtures.
- Pipe Materials: Different pipe materials like copper, PVC, or PEX have unique characteristics affecting durability and water quality.
- Main Shut-Off Valve Location: Knowing where this valve is can prevent extensive water damage during emergencies.
- Pressure Regulator: This component helps control the water pressure entering your home, safeguarding against high pressure.
- Water Meter: Monitoring your water usage through the meter can help detect leaks or unusual consumption patterns early on.
Being familiar with these aspects of your home’s water system empowers you to identify issues promptly and maintain a functional plumbing system efficiently.
Fixing Common Faucet Issues
Addressing common faucet issues requires a systematic approach to diagnosing and resolving plumbing problems efficiently. When fixing leaky pipes, start by turning off the water supply to the affected faucet. Next, dismantle the faucet handle and inspect the O-ring and washer for any signs of wear or damage. Replace these components if necessary, ensuring a proper fit to prevent future leaks. Additionally, check for mineral deposits or corrosion that may be affecting the faucet’s performance. Cleaning or replacing the aerator can often resolve issues with low water pressure or irregular water flow.
Installing new fixtures can update the look of your bathroom or kitchen while also improving functionality. Begin by selecting fixtures that match your existing plumbing configuration to simplify installation. Turn off the water supply, detach the old fixture, and follow the manufacturer’s instructions for installing the new one. Properly sealing connections with plumber’s tape or sealant is crucial to prevent leaks. Remember to test the new fixture thoroughly before considering the job complete. By following these steps, you can tackle common faucet issues with confidence and skill.
Unclogging Drains the DIY Way
I rely on two key methods for unclogging drains efficiently: using a plunger effectively and trying a mixture of baking soda and vinegar. The plunging action creates pressure changes that dislodge blockages, while the baking soda and vinegar solution can break down organic matter that causes clogs. These techniques have proven to be reliable and cost-effective solutions for keeping drains clear of debris.
Use Plunger Effectively
For effective unclogging of drains the DIY way, ensure the plunger is positioned securely over the drain opening before applying pressure. When using a plunger, follow these tips to maximize its effectiveness:
- Create a Seal: Press the plunger firmly against the drain to create a tight seal.
- Apply Firm Pressure: Push and pull the plunger with force to dislodge the clog.
- Use Quick Movements: Rapid plunges are more effective than slow ones.
- Check Surrounding Drains: Sometimes, clogs can affect multiple areas, so check nearby drains.
- Repeat if Necessary: If the clog persists, repeat the plunging process before trying other methods.
Mastering these plunger techniques and troubleshooting common issues will help you unclog drains efficiently. Regular plunger maintenance is key to ensure its best performance.
Try Baking Soda
To effectively utilize baking soda for unclogging drains the DIY way, begin by combining it with vinegar to create a powerful natural cleaning solution. Baking soda, a staple in many households, works wonders due to its abrasive nature, which helps break down clogs without causing damage to your pipes. When mixed with vinegar, a natural cleaner, a chemical reaction occurs that can help dislodge debris and clear minor blockages. This method is not only effective but also eco-friendly, as it eliminates the need for harsh chemicals that can be harmful to the environment. By opting for natural cleaners and eco-friendly solutions like baking soda and vinegar, you can maintain a clean and functional plumbing system while reducing your impact on the planet.
Vinegar Drain Solution
When tackling clogged drains using a DIY approach, incorporating a vinegar solution can be a highly effective and environmentally friendly method. Natural remedies like vinegar can work wonders in breaking down clogs without harsh chemicals. Here are some tips to effectively use vinegar for unclogging drains:
- Pour a mixture of hot water and vinegar down the drain regularly for preventive maintenance.
- Combine vinegar with baking soda for a fizzy reaction that helps dislodge debris.
- Let the vinegar solution sit in the drain for at least 30 minutes before flushing with hot water.
- Use vinegar as a natural deodorizer to keep your drains smelling fresh.
- Consider repeating the vinegar treatment monthly to prevent future clogs and maintain clean drains.
Dealing With a Running Toilet
Upon noticing a running toilet, it is crucial to promptly diagnose and address the issue to prevent water waste and potential damage to the plumbing system. To tackle a running toilet, the first step is to lift the lid off the tank and observe the components inside. Often, the issue stems from a faulty flapper that is not sealing properly, leading to continuous water flow. This can result in significant water waste over time. To address this, turn off the water supply to the toilet, flush to drain the tank, and inspect the flapper for any damage or misalignment. In some cases, the chain connected to the flapper may be tangled or too long, hindering its proper function. Adjusting the chain length or realigning the flapper can resolve the issue. If the flapper appears worn out or damaged, it may need replacement as part of the toilet repair process. Remember, timely intervention in fixing a running toilet can save both water and money in the long run.
How to Detect and Fix Leaks
Upon discovery of leaks, an essential step is conducting a systematic inspection to identify their source and severity accurately. When it comes to leak detection and repair, here are five crucial points to consider:
- Use of Leak Detection Methods: Utilize tools like moisture meters, infrared cameras, and dye testing to pinpoint the exact location of leaks.
- Check for Visible Signs: Look for water stains, mold growth, or peeling paint, which can indicate hidden leaks.
- Inspect Water Pressure: Fluctuations in water pressure may signify a leak in the plumbing system.
- Apply Proper Pipe Sealing Techniques: Use thread seal tape, pipe dope, or joint compounds to seal leaks effectively.
- Consider Repair Techniques: Depending on the type of leak, options like pipe clamps, epoxy compounds, or pipe replacement may be necessary.
Insulating Pipes for Winter
After addressing any leaks in your plumbing system, the next crucial step is insulating your pipes for winter to prevent freezing and potential damage. When it comes to winter plumbing maintenance, insulating your pipes is a key task to ensure your system functions properly during cold weather. Pipe insulation tips are essential to safeguard your plumbing. Start by identifying vulnerable pipes in unheated areas such as basements, attics, and crawl spaces. Use pipe sleeves or heat tape to cover exposed pipes adequately. Pay close attention to areas where pipes enter and exit your home as they are particularly prone to freezing. Additionally, insulate pipes near exterior walls to provide extra protection. Properly insulating your pipes not only prevents freezing but also conserves energy by reducing heat loss. By following these pipe insulation tips, you can effectively prepare your plumbing system for the winter months, ensuring a smoothly running and efficient system.
Safety Precautions for DIY Plumbing
When tackling DIY plumbing projects, ensuring safety is paramount. I will discuss safety gear essentials and provide tips for identifying potential hazards. These precautions are crucial for protecting yourself while working on plumbing tasks.
Safety Gear Essentials
Equipping yourself with the necessary safety gear is paramount when undertaking DIY plumbing projects to protect yourself from potential hazards and accidents. It’s crucial to prioritize safety precautions to prevent any mishaps while working on plumbing tasks. Here are some safety gear essentials to have on hand:
- Protective eyewear to shield eyes from debris and chemicals.
- Heavy-duty gloves to safeguard hands from sharp edges and hot pipes.
- Non-slip footwear to maintain stability on wet surfaces.
- Respirator mask for protection against fumes and dust.
- Ear protection to reduce noise levels and prevent hearing damage.
Hazard Identification Tips
Identifying potential hazards is a critical step in ensuring safety during DIY plumbing projects, requiring vigilance and attention to detail. When starting a project, always survey the work area for potential risks such as electrical sources near water, exposed pipes, or slippery floors. Identifying hazards like leaking pipes, mold growth, or gas leaks is crucial to prevent accidents and ensure a safe working environment. Implement safety measures like wearing protective gear, turning off water sources when working, and using tools properly to minimize risks. Additionally, check for any structural weaknesses before starting work to avoid unexpected mishaps. By staying alert and proactive in hazard identification and following safety measures diligently, DIY plumbers can significantly reduce the likelihood of accidents and injuries.