

Crafting a captivating gallery wall on a budget begins with the power of personal touch. Incorporating handmade wall art can infuse individuality and charm into your space. But where does one start in this artistic endeavor? From selecting the suitable supplies to cleverly arranging your collection, each step plays a pivotal role in curating a visually appealing gallery wall. So, how can you elevate your home decor without breaking the bank? Let’s explore the art of blending creativity and thriftiness to transform your walls into a personalized masterpiece.
Choosing the Right Materials
How can I ensure that the materials I choose for my handmade wall art project are both cost-effective and of good quality? When considering color palettes, opt for a cohesive theme that complements your existing decor. This will create a sense of harmony and unity within your space. Experiment with textures and patterns to add depth and visual interest to your wall art. Mixing different textures like smooth fabrics, rough wood, or glossy finishes can make your piece stand out. Similarly, incorporating various patterns such as geometric shapes or floral prints can add a dynamic element to your artwork.
When sourcing materials, look for budget-friendly options like repurposed items from thrift stores or online marketplaces. These can be unique and affordable alternatives to traditional art supplies. Additionally, consider using items you already have at home, like old fabric scraps or leftover paint, to further cut down on costs. By being mindful of color palettes and playing with textures and patterns, you can create stunning handmade wall art without breaking the bank.
DIY Wall Art Projects
Let’s delve into some creative and cost-effective DIY wall art projects that can elevate your space.
-
Painted Rocks: Collect smooth rocks from your garden or a nearby park, unleash your creativity with colorful paints, and transform them into unique pieces of art. These painted rocks can add a touch of nature-inspired charm to your walls.
-
Recycled Paper: Utilize old newspapers, magazines, or even junk mail to create intricate paper art. From origami designs to quilled patterns, the possibilities are endless. Not only is this a sustainable option, but it also allows you to personalize your space with handmade artwork.
-
Pressed Flowers: Preserve the beauty of your garden by pressing flowers and arranging them in a frame. This delicate and elegant wall art adds a touch of botanical beauty to any room.
-
Fabric Scraps: Upcycle fabric scraps into stunning wall hangings or fabric banners. Mix and match colors and textures to create a one-of-a-kind piece that reflects your personality and style.
Upcycling for Unique Pieces
When upcycling for unique pieces, transforming everyday items into creative decor can breathe new life into your space. Vintage textiles and thrift store finds are excellent resources for creating one-of-a-kind wall art. Old scarves, fabric scraps, or embroidered linens can be framed or stretched over canvas for a personalized touch. Thrift stores often have a treasure trove of hidden gems like vintage frames, mirrors, or even old paintings that can be repurposed into stunning pieces of art.
I love scouring flea markets and second-hand stores for unique items that can be transformed into something beautiful for my gallery wall. By upcycling these items, not only am I adding a touch of personality to my space, but I’m also reducing waste and giving new life to forgotten pieces. The charm of vintage textiles and the character of thrift store finds bring a sense of history and uniqueness to my decor that you can’t find in mass-produced items. So, next time you’re looking to spruce up your walls, consider upcycling for a truly special touch.
Tips for Arranging Your Gallery Wall
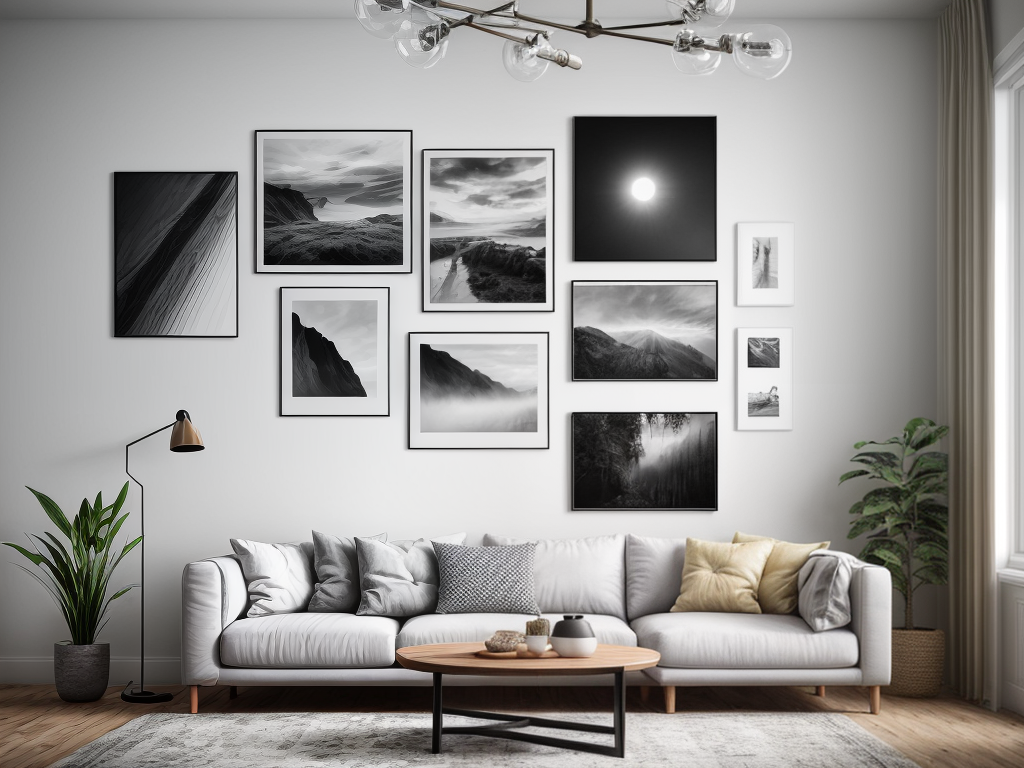
Arranging a gallery wall involves strategically positioning your artwork to create a visually appealing and cohesive display. When arranging your gallery wall, consider the following tips:
- Color Schemes: Choose a color palette that complements your space and ties the artworks together. You can opt for monochromatic schemes for a harmonious look or contrasting colors for a bold statement.
- Hanging Techniques: Experiment with different hanging techniques to add visual interest. Mix and match frames, sizes, and orientations for a dynamic layout.
- Balance and Symmetry: Achieve balance by distributing visual weight evenly across the wall. Consider symmetry in your arrangement to create a sense of order and harmony.
- Spacing and Alignment: Pay attention to the spacing between artworks to avoid overcrowding. Ensure proper alignment to maintain a clean and polished look.
Budget-Friendly Framing Options
Exploring cost-effective framing options can elevate your wall art without breaking the bank. Affordable framing doesn’t have to compromise on style or quality. One creative alternative is to use washi tape to create a border around your artwork. Washi tape comes in various colors and patterns, allowing you to customize the look to suit your decor. Another budget-friendly option is to shop for pre-made frames at discount or thrift stores. You can often find unique frames that just need a little love and attention to become the perfect showcase for your art. Consider mixing and matching different frame styles and colors for a more eclectic gallery wall. DIY framing kits are also a great way to save money while giving your art a professional finish. These kits typically include everything you need to frame your art at a fraction of the cost of custom framing. By exploring these affordable and creative framing alternatives, you can create a stunning gallery wall without overspending.